


As I explained in the previous post, the plugins offer you a wide range of opportunities to add new features to your blog that positively influence its monetization. Now let’s see how to install them.
There are two ways to install WordPress plugins:
- Installation without download: You complete the entire installation process from the control panel of your blog.
- Installation with download: You download the plugin to your computer and upload it to your blog.
Installation without download
It is the simplest solution that works for the installation of free plugins from wordpress.org. I will show you how to do it in an example. We will install the plugin called Yoast SEO. I recommend you follow the steps described in this example, if you have not already installed it. It will help you rank better your articles in Google and get more visitors (which of course means more money for you).
Step 1: Access the control panel of your blog
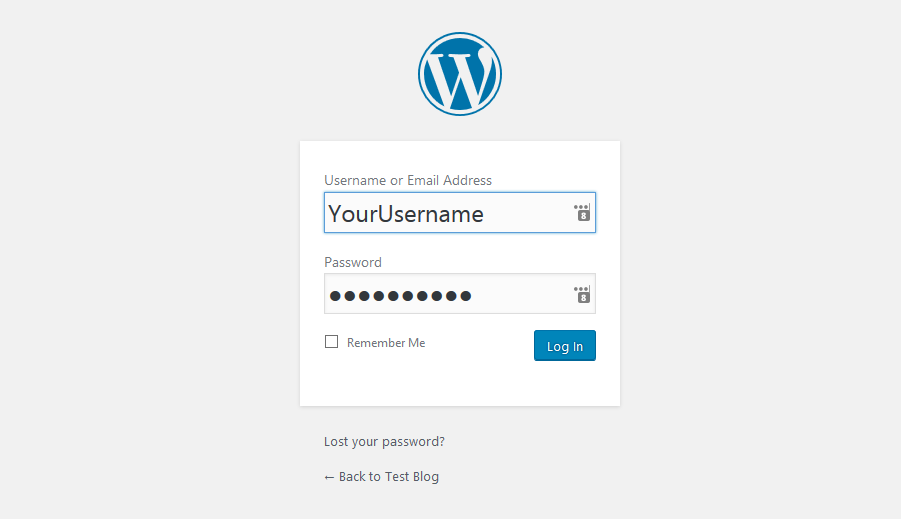
The first thing to do is to access the control panel of your blog. You will find it in the wp-admin folder. In other words, point your browser to http://yourdomain.com/wp-admin and log in.
Step 2: Go to the plugins section

In the side menu you will see the Plugins link. Click on it and then on the Add new option. Use the search field to find the Yoast SEO plugin.
Step 3: Install the plugin
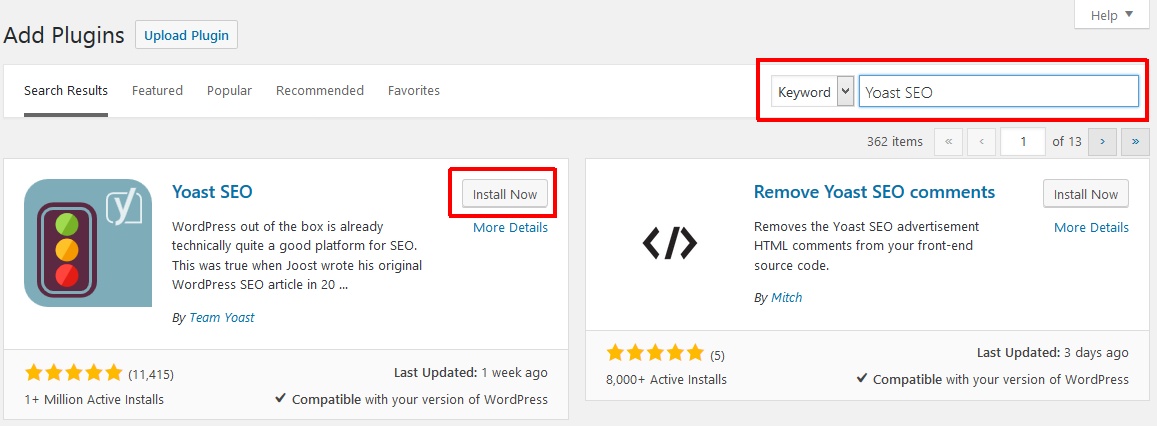
Click the Install now button. Wait until it is installed and the Activate button appears. Click on it and the plugin will be ready to use.
If you later decide to uninstall it or deactivate it, you can do it from the plugins section in the control panel.
Video – plugin installation without download
Installation with download
Paid plugins cannot be installed without downloading them to your computer. Therefore, you must proceed in a slightly different way.
Step 1: Download the plugin
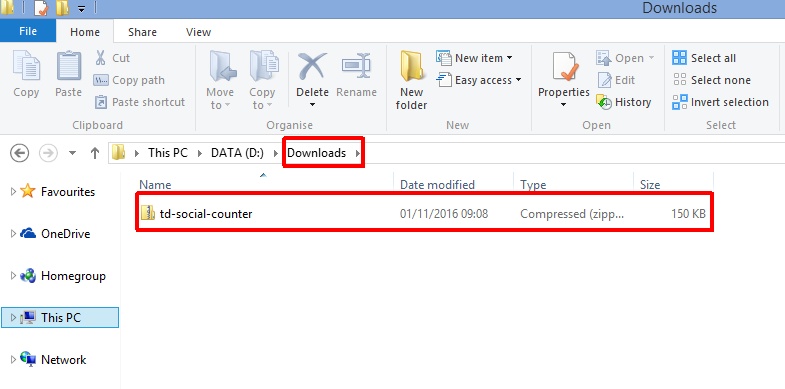
Download the plugin to your computer so you can upload it later to your blog.
Step 2: Access the control panel of your blog
You can now access the control panel of your blog. You will find it in the wp-admin folder. In other words, point your browser to http://yourdomain.com/wp-admin and log in.
Step 3: Enter in the plugins section
In the side menu you will see the Plugins link. Click on it and then on the Add new option.
Step 4: Install the plugin
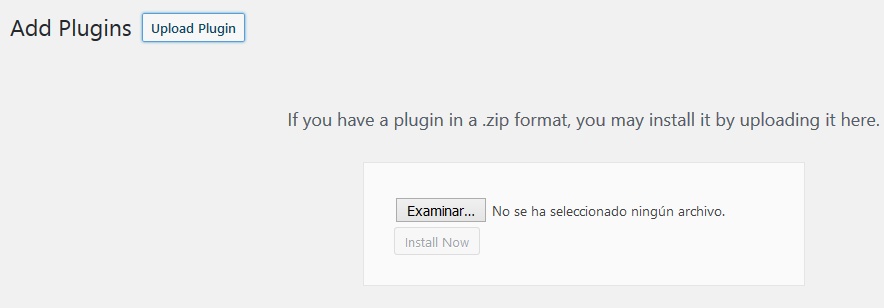
At the top of the page you will find the Upload plugin button. After clicking this button, click on the Choose file button. Select the file you have downloaded and click the Install now button. After the installation, activate the plugin.
Video – plugin installation with download
Possible problem and the solution
The most common problem occurs when we need to install a large plugin. As the uploads are made by PHP and it has a default upload limit of 2 MB, you cannot install plugins that exceed this size.
There are two ways to solve this problem:
- If you host your blog on MarbleHost.com (as it is my web hosting company, I can guarantee that it has everything you need to make your blog run smoothly), you can increase this limit from the web hosting control panel. If you use another web host, contact them to see if there is any possibility of increasing the limit.
- Upload the file via FTP to the wp-content/plugins folder (if you still cannot upload it, you should consult the solution with your web hosting provider). Then activate the plugin from the control panel of your blog (the plugins section).
and learn well explained strategies that will help you
make a living with your own blog or website.


 YouTube videos in WordPress")